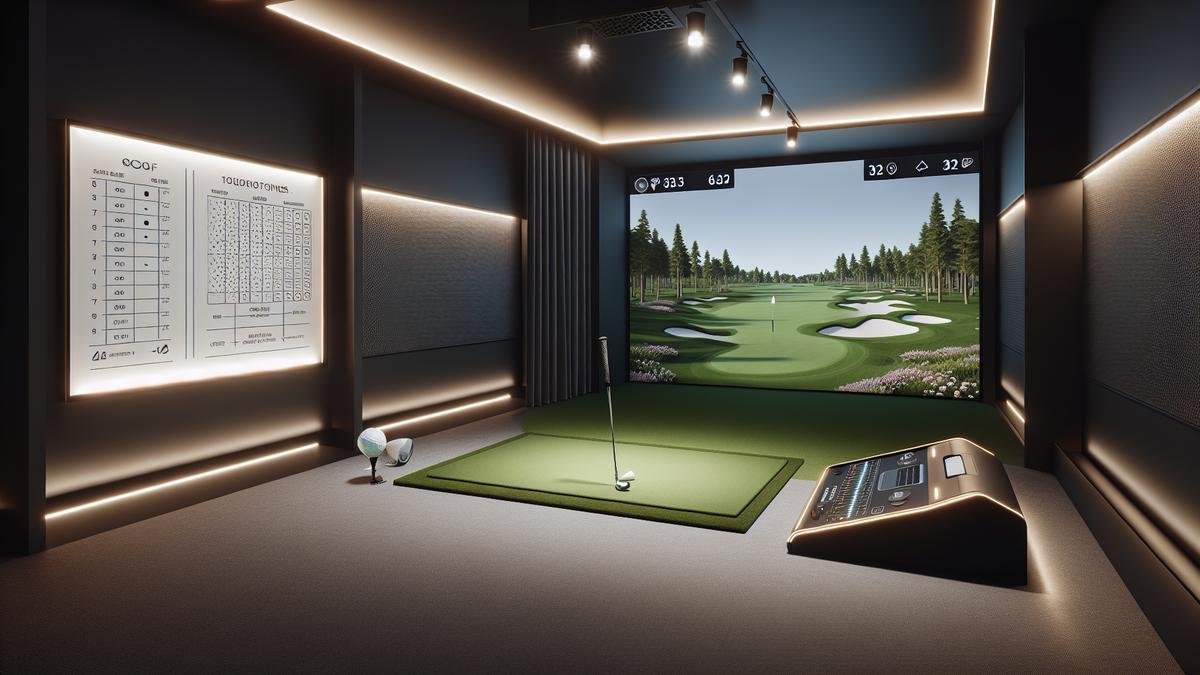
Key Points to Remember
- Good lighting helps you see the ball better.
- Use bright, even lights for clear vision.
- Avoid shadows that can mess with your game.
- Position lights in front to reduce glare.
- Test different setups to find what works for you.

Understanding the Importance of Golf Simulator Lighting
How Lighting Affects Your Swing
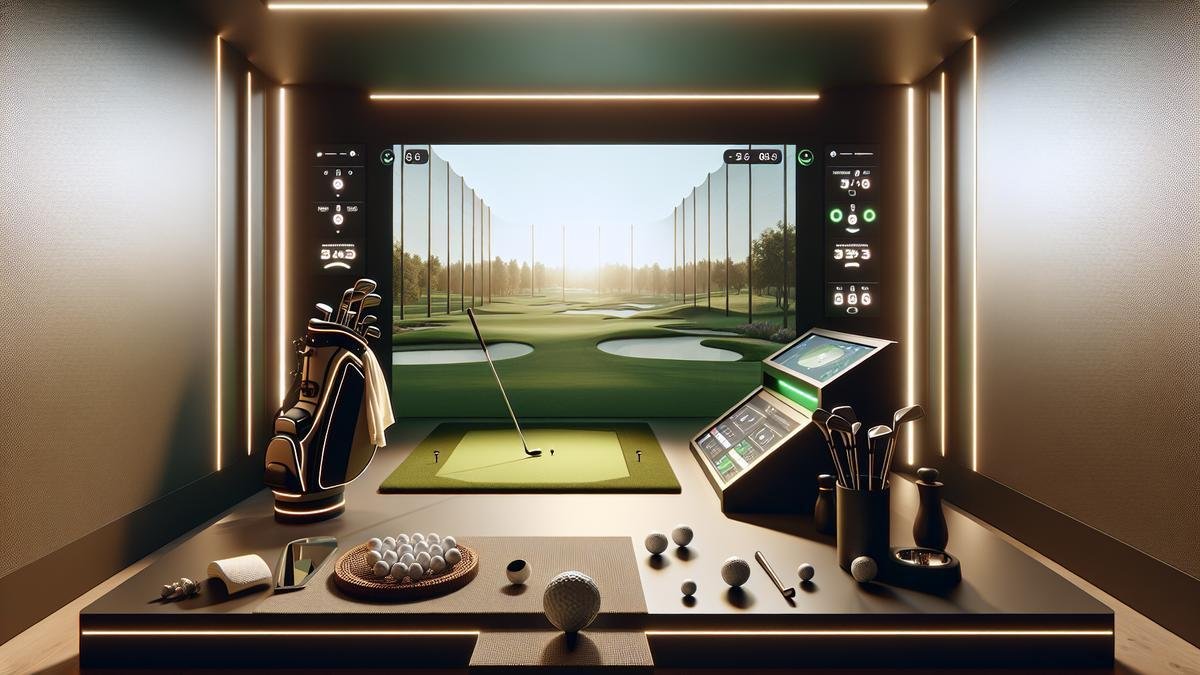
Lighting plays a key role in your golf simulator experience. Think of it as the spotlight on a stage. If the lighting is off, it can mess with your focus and swing. When you swing, you want to see the ball clearly. Poor lighting can create shadows, making it hard to track the ball’s path, leading to mistakes in your swing.
The Role of Lighting in Your Overall Experience
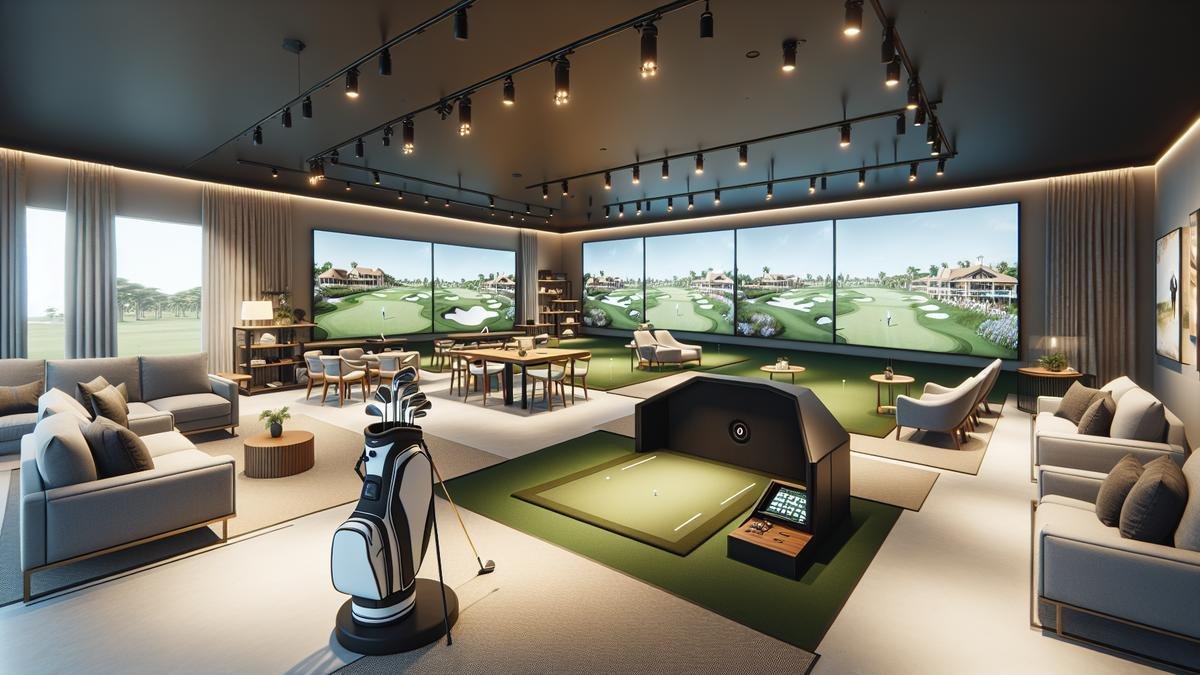
Good lighting doesn’t just help with your swing; it also boosts your overall experience. Imagine stepping into a room that feels bright and welcoming. That’s what good lighting does for you. It sets the mood and helps you feel relaxed. When you are relaxed, you play better.
Optimal Lighting Conditions for Golf Simulation
To get the best out of your golf simulator, you need to know what lighting works best. Here’s a quick table to help you understand:
| Condition | Description |
|---|---|
| Brightness | Aim for bright but soft lighting. |
| Position | Lights should be in front and above you. |
| Color Temperature | Use warm white light (around 3000K). |
| Avoid Shadows | Position lights to minimize shadows. |
These conditions will help you hit your ball with confidence and improve your game.
Choosing the Best Lighting for Golf Simulators
Types of Lights for Your Golf Simulator
When setting up your golf simulator, the type of lighting you choose can make a big difference. Here are some common types of lights you might consider:
- LED Lights: Energy-efficient and long-lasting, providing bright, clear light without flickering.
- Fluorescent Lights: Bright but can flicker; they use more energy than LEDs.
- Halogen Lights: Provide warm light but can get hot and use more energy.
Brightness Levels to Consider
The brightness of your lights can affect how well you see your screen. Here’s a quick guide:
| Light Type | Lumens (Brightness) | Energy Use | Lifespan |
|---|---|---|---|
| LED | 800 – 1600 | Low | 15,000 hours |
| Fluorescent | 800 – 1200 | Medium | 7,000 hours |
| Halogen | 1000 – 1500 | High | 2,000 hours |
Choose lights that provide enough brightness for your setup. You want to see the details on the screen without straining your eyes.
Comparing LED vs. Fluorescent Lighting
Let’s break down the two most popular options: LED and Fluorescent.
| Feature | LED | Fluorescent |
|---|---|---|
| Brightness | Very bright | Bright, but can flicker |
| Energy Efficiency | Highly efficient | Less efficient |
| Lifespan | Long (15,000 hours) | Shorter (7,000 hours) |
| Heat Output | Low | Higher |
In most cases, LED lights are the better choice. They last longer and use less energy, providing a steady light that won’t distract you while you play.
Setting Up Your Golf Simulator Lighting
Ideal Placement for Lights
When you set up your golf simulator lighting, the placement of your lights is key. You want to make sure they are positioned to give you the best experience. Here are some tips:
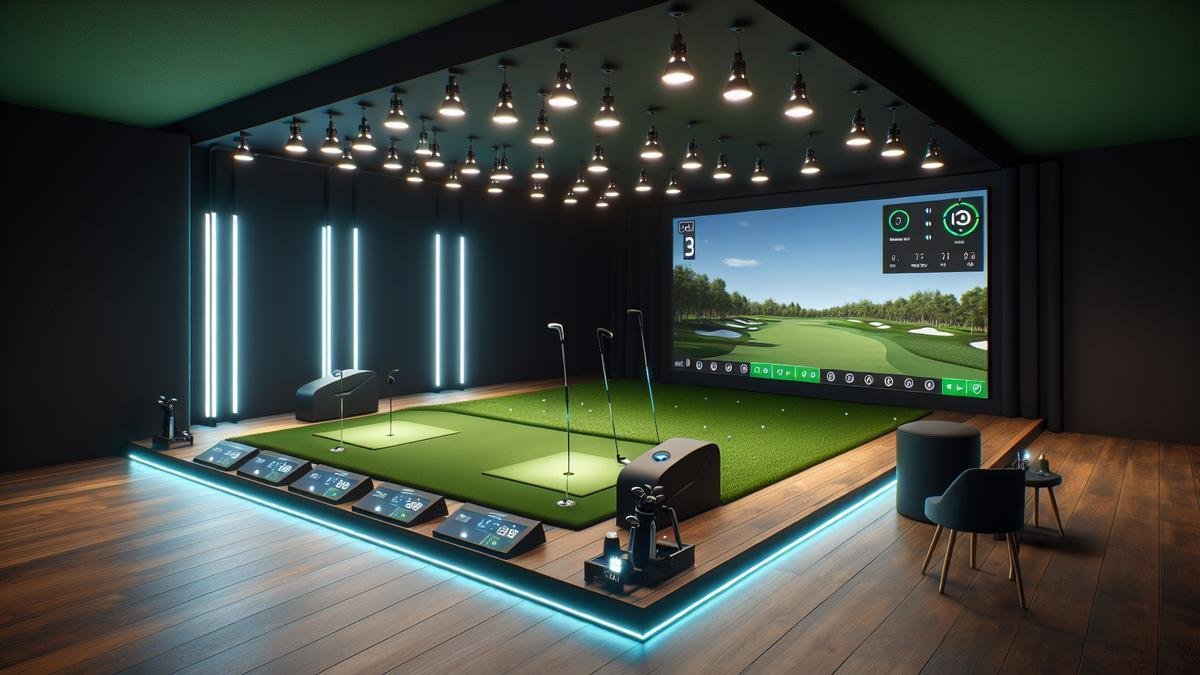
- Above Your Setup: Hang lights from the ceiling to spread light evenly.
- Front and Back: Place lights in front of and behind your hitting area for a balanced look.
- Side Lighting: Add lights on the sides to fill in any dark spots.
Here’s a quick table to visualize the ideal light placement:
| Placement Area | Description |
|---|---|
| Ceiling | Hang lights to spread light evenly. |
| Front | Light up the hitting area directly. |
| Back | Provide depth and reduce shadows. |
| Sides | Fill in dark spots for a balanced view. |
Avoiding Shadows and Glare
Shadows and glare can ruin your game. To avoid these issues, follow these guidelines:
- Adjust Light Angles: Tilt lights slightly downwards to reduce glare on your screen.
- Use Diffusers: Soft light is better; use diffusers to spread the light out.
- Test Different Setups: Don’t be afraid to move things around; a small change can make a big difference.
Tips for a Balanced Lighting Setup
A balanced setup can make all the difference in your simulator experience. Here are some handy tips:
- Mix Light Types: Use a combination of LED and fluorescent lights for the best effect.
- Control Brightness: Use dimmers to adjust the light based on your needs.
- Keep It Consistent: Maintain consistent lighting across the entire area to help your eyes adjust better.
By following these tips, you can optimize your golf simulator lighting and enjoy a fantastic experience every time you play.
Enhancing Your Golf Simulator Environment
Color Temperature and Its Impact
When you’re setting up your golf simulator, the color temperature of your lighting can really change the game. Think of it as the mood setter.
- Cooler lights (around 5000K to 6500K) give off a bright, daylight feel, keeping you alert and focused.
- Warmer lights (around 2700K to 3000K) create a cozy vibe, helping you relax and enjoy the game.
Here’s a quick table to show the differences:
| Color Temperature | Description | Best For |
|---|---|---|
| 2700K – 3000K | Warm Light | Relaxing Atmosphere |
| 5000K – 6500K | Cool Light | Focus and Energy |
Creating a Relaxing Atmosphere
A relaxing atmosphere is key when you’re playing your simulator. It’s all about making the space feel good. Here are a few tips:
- Choose the right colors: Soft blues or greens can calm you down.
- Keep it tidy: A clean space helps your mind stay clear.
- Add personal touches: Pictures or memorabilia can make the space feel like yours.
Using Ambient Lighting for Better Play
Ambient lighting enhances your golf simulator experience. It’s like the icing on the cake. Here’s how to use it:
- Install dimmable lights: Adjust the brightness based on your mood.
- Use wall sconces or LED strips: These can add a nice glow without being too harsh.
- Consider smart bulbs: Change colors and brightness with just a tap on your phone.
Remember, the goal is to create an inviting space that keeps you engaged. Good golf simulator lighting can make all the difference!
Indoor Golf Lighting Solutions
Portable Lighting Options
When you’re setting up your golf simulator, having the right lighting is key. Portable lighting options can be a game changer. They allow you to adjust your setup based on your needs. Here are some popular choices:
- LED Spotlights: Bright and energy-efficient; easily movable.
- Clamp Lights: Attach to various surfaces for focused lighting.
- String Lights: Perfect for adding ambiance; easily hung or moved.
Each of these options provides flexibility, allowing you to change the intensity and direction of light as you play, creating the perfect atmosphere for your indoor golf experience.
Permanent Fixtures for Your Setup
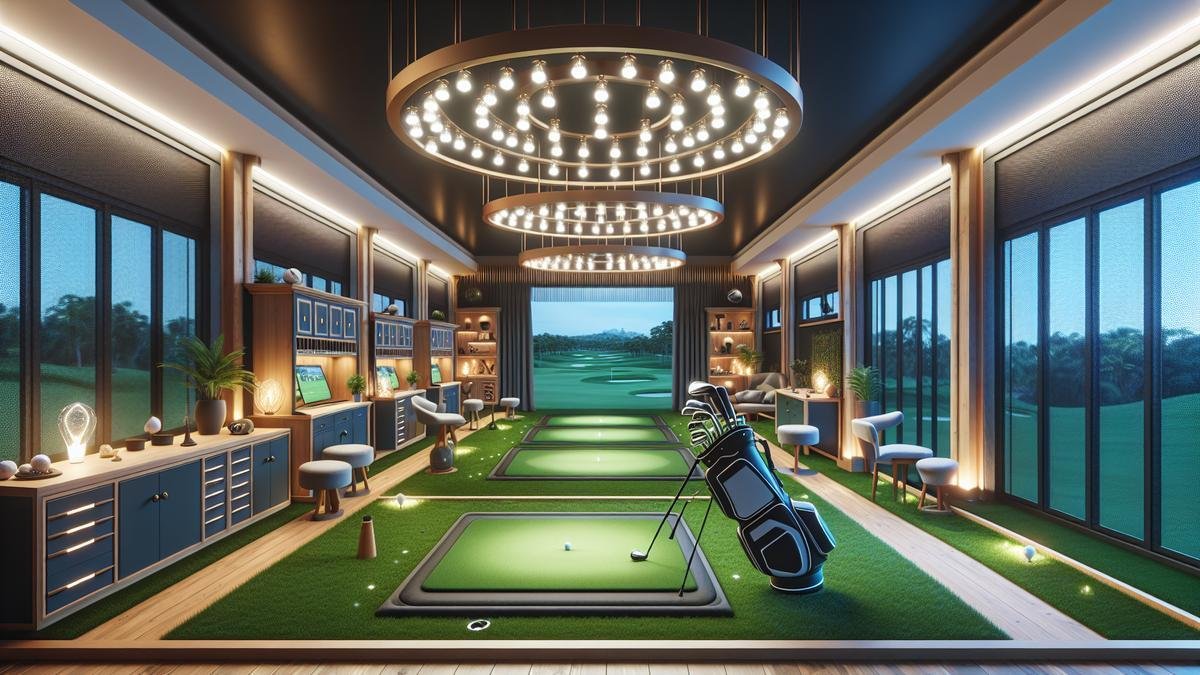
If you’re serious about your golf simulator, consider installing permanent lighting fixtures. They provide consistent lighting without the hassle of moving them around. Here are some options to think about:
| Fixture Type | Benefits |
|---|---|
| Recessed Lighting | Sleek look, evenly distributed light |
| Track Lighting | Adjustable positions, versatile |
| Wall Sconces | Adds style and directs light |
Permanent fixtures can help create a more professional feel, especially if you plan to practice often. You won’t have to worry about setting up every time you want to play.
Cost-Effective Lighting Solutions for Golf Simulators
You don’t need to break the bank to get great lighting for your golf simulator. Here are some cost-effective solutions:
- Use LED Bulbs: They last longer and save on energy costs.
- DIY Solutions: Get creative! Use materials you already have at home.
- Shop Sales: Look for discounts on lighting fixtures; you can save a lot!
By being smart about your purchases, you can create an excellent lighting setup without spending a fortune. Good lighting can make all the difference in your indoor golf experience.
Golf Simulator Tips for Better Lighting
Adjusting Lighting Based on Time of Day
When you’re setting up your golf simulator lighting, think about the time of day. Natural light changes throughout the day, and so should your lighting. In the morning, softer light works well. As the sun rises, you might need brighter lights to mimic that midday sun.
Here’s a quick guide:
| Time of Day | Lighting Type | Description |
|---|---|---|
| Morning | Soft White Light | Helps create a calm atmosphere. |
| Afternoon | Bright White Light | Mimics the sun at its peak. |
| Evening | Warm Light | Creates a cozy, relaxed vibe. |
Adjusting your lights can make your simulator feel more like the real deal.
Using Smart Lighting for Flexibility
Smart lighting can be a game changer for your golf simulator. With smart bulbs, you can change the color and brightness right from your phone. This means you can switch things up based on your mood or the time of day. Here are some benefits:
- Control: Adjust lights without getting up.
- Customization: Set different moods for practice or play.
- Energy Saving: Smart bulbs often use less power.
Imagine being able to switch from bright, sunny vibes to a more relaxed evening setting in just a tap!
Regular Maintenance for Optimal Lighting
To keep your golf simulator lighting in top shape, regular maintenance is key. Here are some tips to keep your lights shining bright:
- Clean Bulbs: Dust can dim your lights; wipe them down regularly.
- Check for Burnouts: Replace any burnt-out bulbs right away.
- Adjust Positioning: Make sure lights are angled correctly for the best effect.
Staying on top of these tasks will help your simulator look and feel fantastic every time you play.
Conclusion
In conclusion, lighting is not just a minor detail; it’s the lifeblood of your golf simulator experience. With the right setup, you can transform your game from mediocre to extraordinary. Remember, good lighting helps you see the ball clearly, enhances your focus, and creates a welcoming atmosphere that can make all the difference.
So, don’t just throw up any old light fixture and call it a day. Experiment with different types, placements, and brightness levels. Test and adjust until you find what works best for you. Your swing deserves it!
And hey, if you’re hungry for more tips and tricks to elevate your golfing game, check out other articles at Hunter Golf Simulator. Happy swinging!
Frequently asked questions
What type of lights should I use for my golf simulator lighting?
LED lights are the best choice. They provide bright and even light and save energy!
How much light do I need for my golf simulator?
You need enough light to clearly see the screen. Aim for 500 to 1000 lumens for a great experience.
Can I use natural light for my golf simulator lighting?
Natural light is nice, but it can cause glare. It’s better to use artificial lights for consistency.
Where should I place the lights for my golf simulator?
Place lights above and in front of the simulator. This helps reduce shadows and brightens the space.
Will dimming my lights help with my golf simulator?
Dimming can help! It can reduce glare and create a more comfortable atmosphere for play.

